-
Creating multilingual website w/ React & Flux
My post on Getting started w/ React & Mocha just made it up to the Top 1 of all my blog posts, reaching 1000 uniqueue views, so I decided to continue these series.

My target
This time I want to create a simple multilingual website. I need to have:
- source structure and process suitable for mid-sized project
- fast update of UI on language change (desirably without page refresh)
- easy testable solution
I’ll use ES6 where it is suitable, I automate dev process using Gulp.
Result
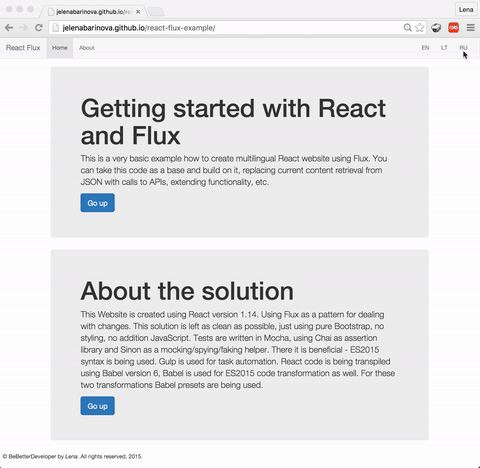
This is how the final result looks like:
Working code in GitHub. To check the website, follow this link.
tl;dr
Just download the code and run
$npm installIf you are using Visual Studio Code - you can build it using
⇧⌘B(on Mac), otherwise use:$gulp buildTo run a server locally I use http-server:
$http-server -a localhost -p 8000For those, who are in a hurry to get started with Flux you can skip all preparation steps and go straight to Using Flux.
My actions
To create this multilingual website I followed these steps:
- Created simple HTML
- Created React components with hardcoded content
- Moved content to JSON
- Used Flux
- Made some refactoring and add tests
Step 1. Simple HTML
So I started by creating my website as a simple HTML, using Bootstrap, to have the basic static page structure, which I could split to the React components later. That’s how my index.html look like:
Step 2. React components
First I installed React and ReactDOM.
$npm install react react-dom --saveThen I prepared everything that is needed for jsx and ES2015 transformations:
$npm install babel gulp browserify vinyl-source-stream babelify babel-preset-es2015 babel-preset-react --save-devFor Babel to transform React files and ES2015 - created .babelrc file with these settings:
Created gulp file with a build task. Here it is:
Now moving to React. In my page I identify three components:
- Menu
- Home section
- About section
I created these three components, adding additional one to wrap these three. In this step I added everything in one file app.jsx (will refactor it in further steps). So my app.jsx file looks like this: Note: when using html in React don’t forget to rename class to className.
Added a placeholder for my react components instead of all the html tags in my index.html and added reference to react and react-dom libraries as well as to my app.js file, which is being produced for me after running
$gulp buildor
⇧⌘B(in VSCode on Mac).So my index.html now is this:
- browse files in GitHub at this point
Step 3. Content from JSON
What I decided to do now is to move all the content text to JSON file and load the text I have created helper API. The main idea behind this is that later this loading from JSON could be replaced by calling real API to retrieve needed data.
This is how my data content.json file looks like:
This is my helper API, which load JSON into array and then returns it filtered by language.
So now I update my React components to use text from my API. I decided to call API method from my wrapper component and then pass down needed parts to child components via props. This is my app.jsx:
In addition I appended gulpfile.js with new task to delete previously generated app.js file. This is how gulpfile.js looks like now:
For this I needed to install del library:
$npm install del --save-devStep 4. Flux
So finally, all preparation tasks are done and we can move forward and add Flux. First let’s start with installation.
$npm install flux --saveI follow the flow that is being recommended by Flux:
 Picture is taken from Flux manual.
Let’s map this diagram items with my code. So starting from left to right, I’ve got two actions:
- initApp - I call this in my app entry point to load content using default language ‘en’ (I say it’s an action on the left, very first box in the diagram)
- switchLanguage - I dispatch this action on click in language menu (I say it’s an action above the Store on the diagram)
My actions.js file:
Then I have a dispatcher:
In my store I hold the content and register some callbacks with dispatcher to be invoked on specific actions. My store.js file:
And last, but not least - view. So here I have two components that are related to this flow:
- Menu component - invokes SWITCH_LANGUAGE action on menu item click and passes selected language (this covers View -> Action -> Dispatcher -> Store loop on the diagram)
- Page component - listens to the store changes and when change is happening - gets updated content (this covers Upper Action -> Dispatcher -> Store -> View loop on the diagram).
This is my updated Menu component:
And here it is my Page component:
Step 4. Refactoring and Tests
I won’t be giving any detailed instruction here, but what I did - is refactored my code:
- Changed source file structure
- Split react components to different files
- Added minification step to the gulp task
- Now working on tests, and I think, that they deserve a separate blog post.
The last version of this example may be found on GitHub.
I just love how it works you can experience this smooth language change here.
-
Hello world, Python

Today I started exploring Python. For those who know me - Yes, Python! Bear with me - I’ve got my solid reasons for that (will share it one day).
In this short blog post I just want to share how I setup my IDE - Visual Studio Code on MacOS to handle my Python adventure.
First, I’ve installed Python.
Then, created
app.pyfile with “hello world” code in it and setup VSCode task to run this script, as so:- From a Command pallete (
⇧⌘P) hit “Configure Task Runner”. - In a
task.jsonfile added this:
You should change python command path (if not default as mine) as well as
argsaccording to your setup, I just simply have my whole script inapp.pyfile.Finally, as this is the only task in my VSCode tasks list - it runs on
⇧⌘B.Simple as that!
- From a Command pallete (
-
Sharing a blog post hosted on GitHub Pages
I am hosting all of my personal blogs on GitHub Pages now (here are some reasons why: ‘Static HTML is the new black’). With it comes a challenge when I try to share new posts on social media.
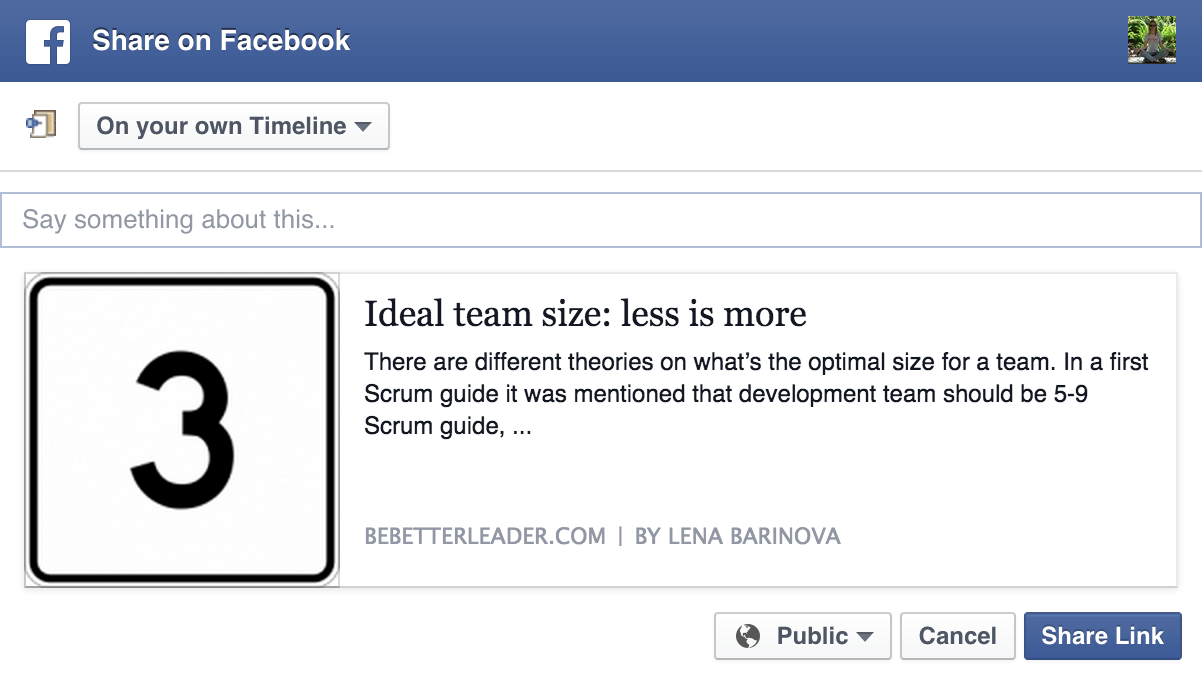
I want to have a nice share dialog with description and image of my blog post. Like so:
In order to archive this, I had to add some code to my Jekyll templates and implement some workarounds with urls and domain configuration. That’s how I did it.
First, I added meta tag generation to a head part of my post html:
I get all the open graph meta tags being generated as FB and other social media systems expect it to:
But once I try to share my blog post or scrape url with Open Graph Object Debugger I get
Error parsing input URL, no data was cached, or no data was scraped.: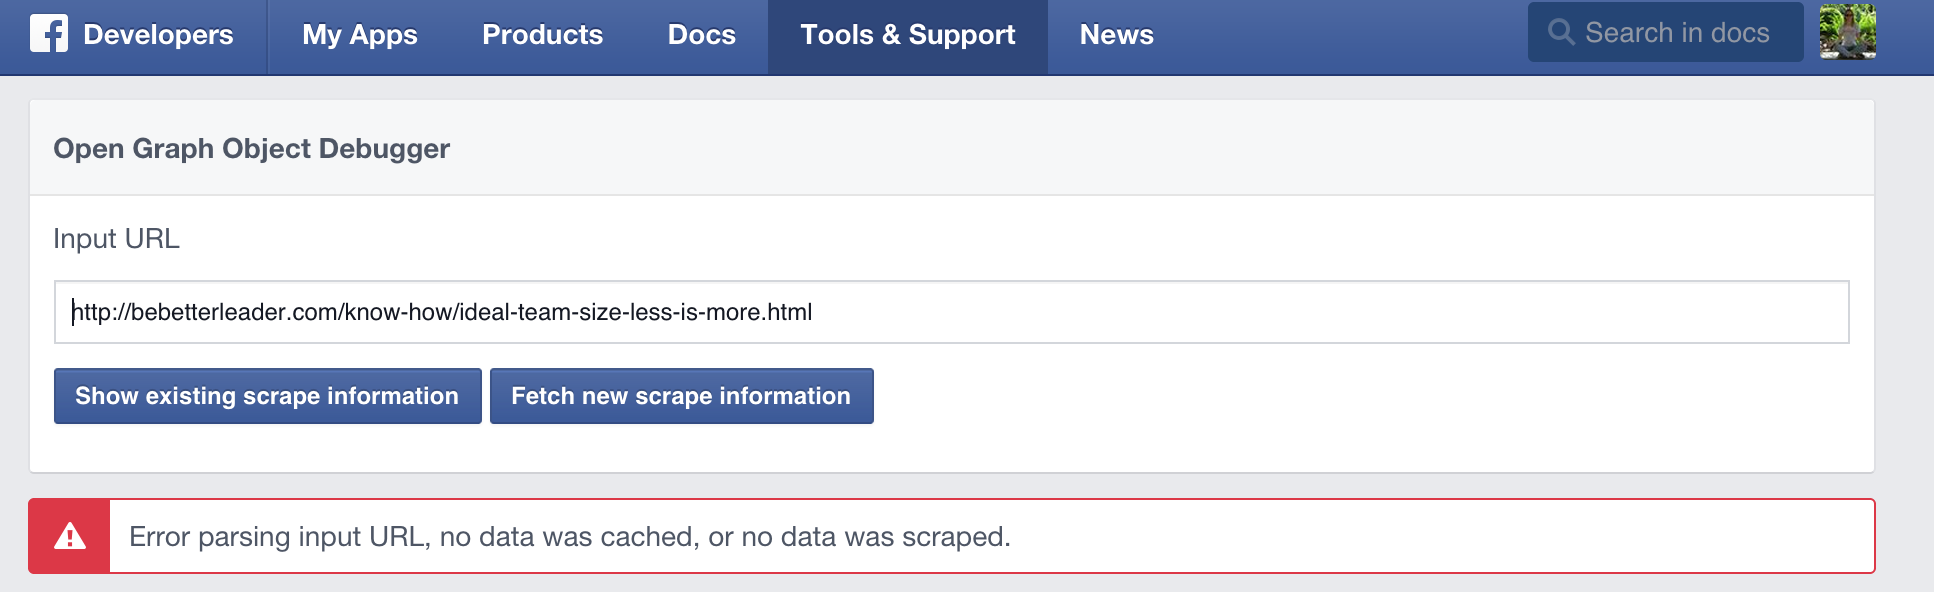
After spending some time searching for the reasons why this is happening, I found that, Github sometimes return a 302 (Redirect status code) instead of a 200 (OK) in order to avoid DDoS attacks. Same issue is described in this blog post.
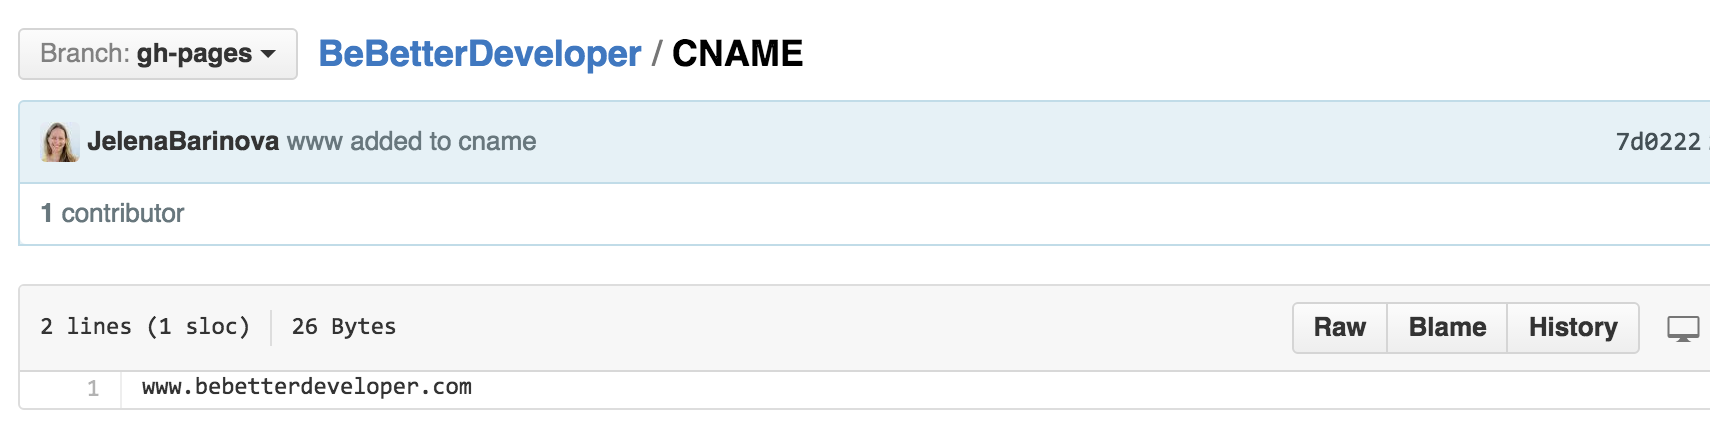
To fix it, in addition to GitHub’s IPs I’ve added
wwwsubdomain throughCNAMEpointing to my GitHub addresslenabarinova.github.ioin my domain configuration.
Now I use url with
wwwprefix when I want to share my blog post on social media and it works just fine - I get desirable share dialog: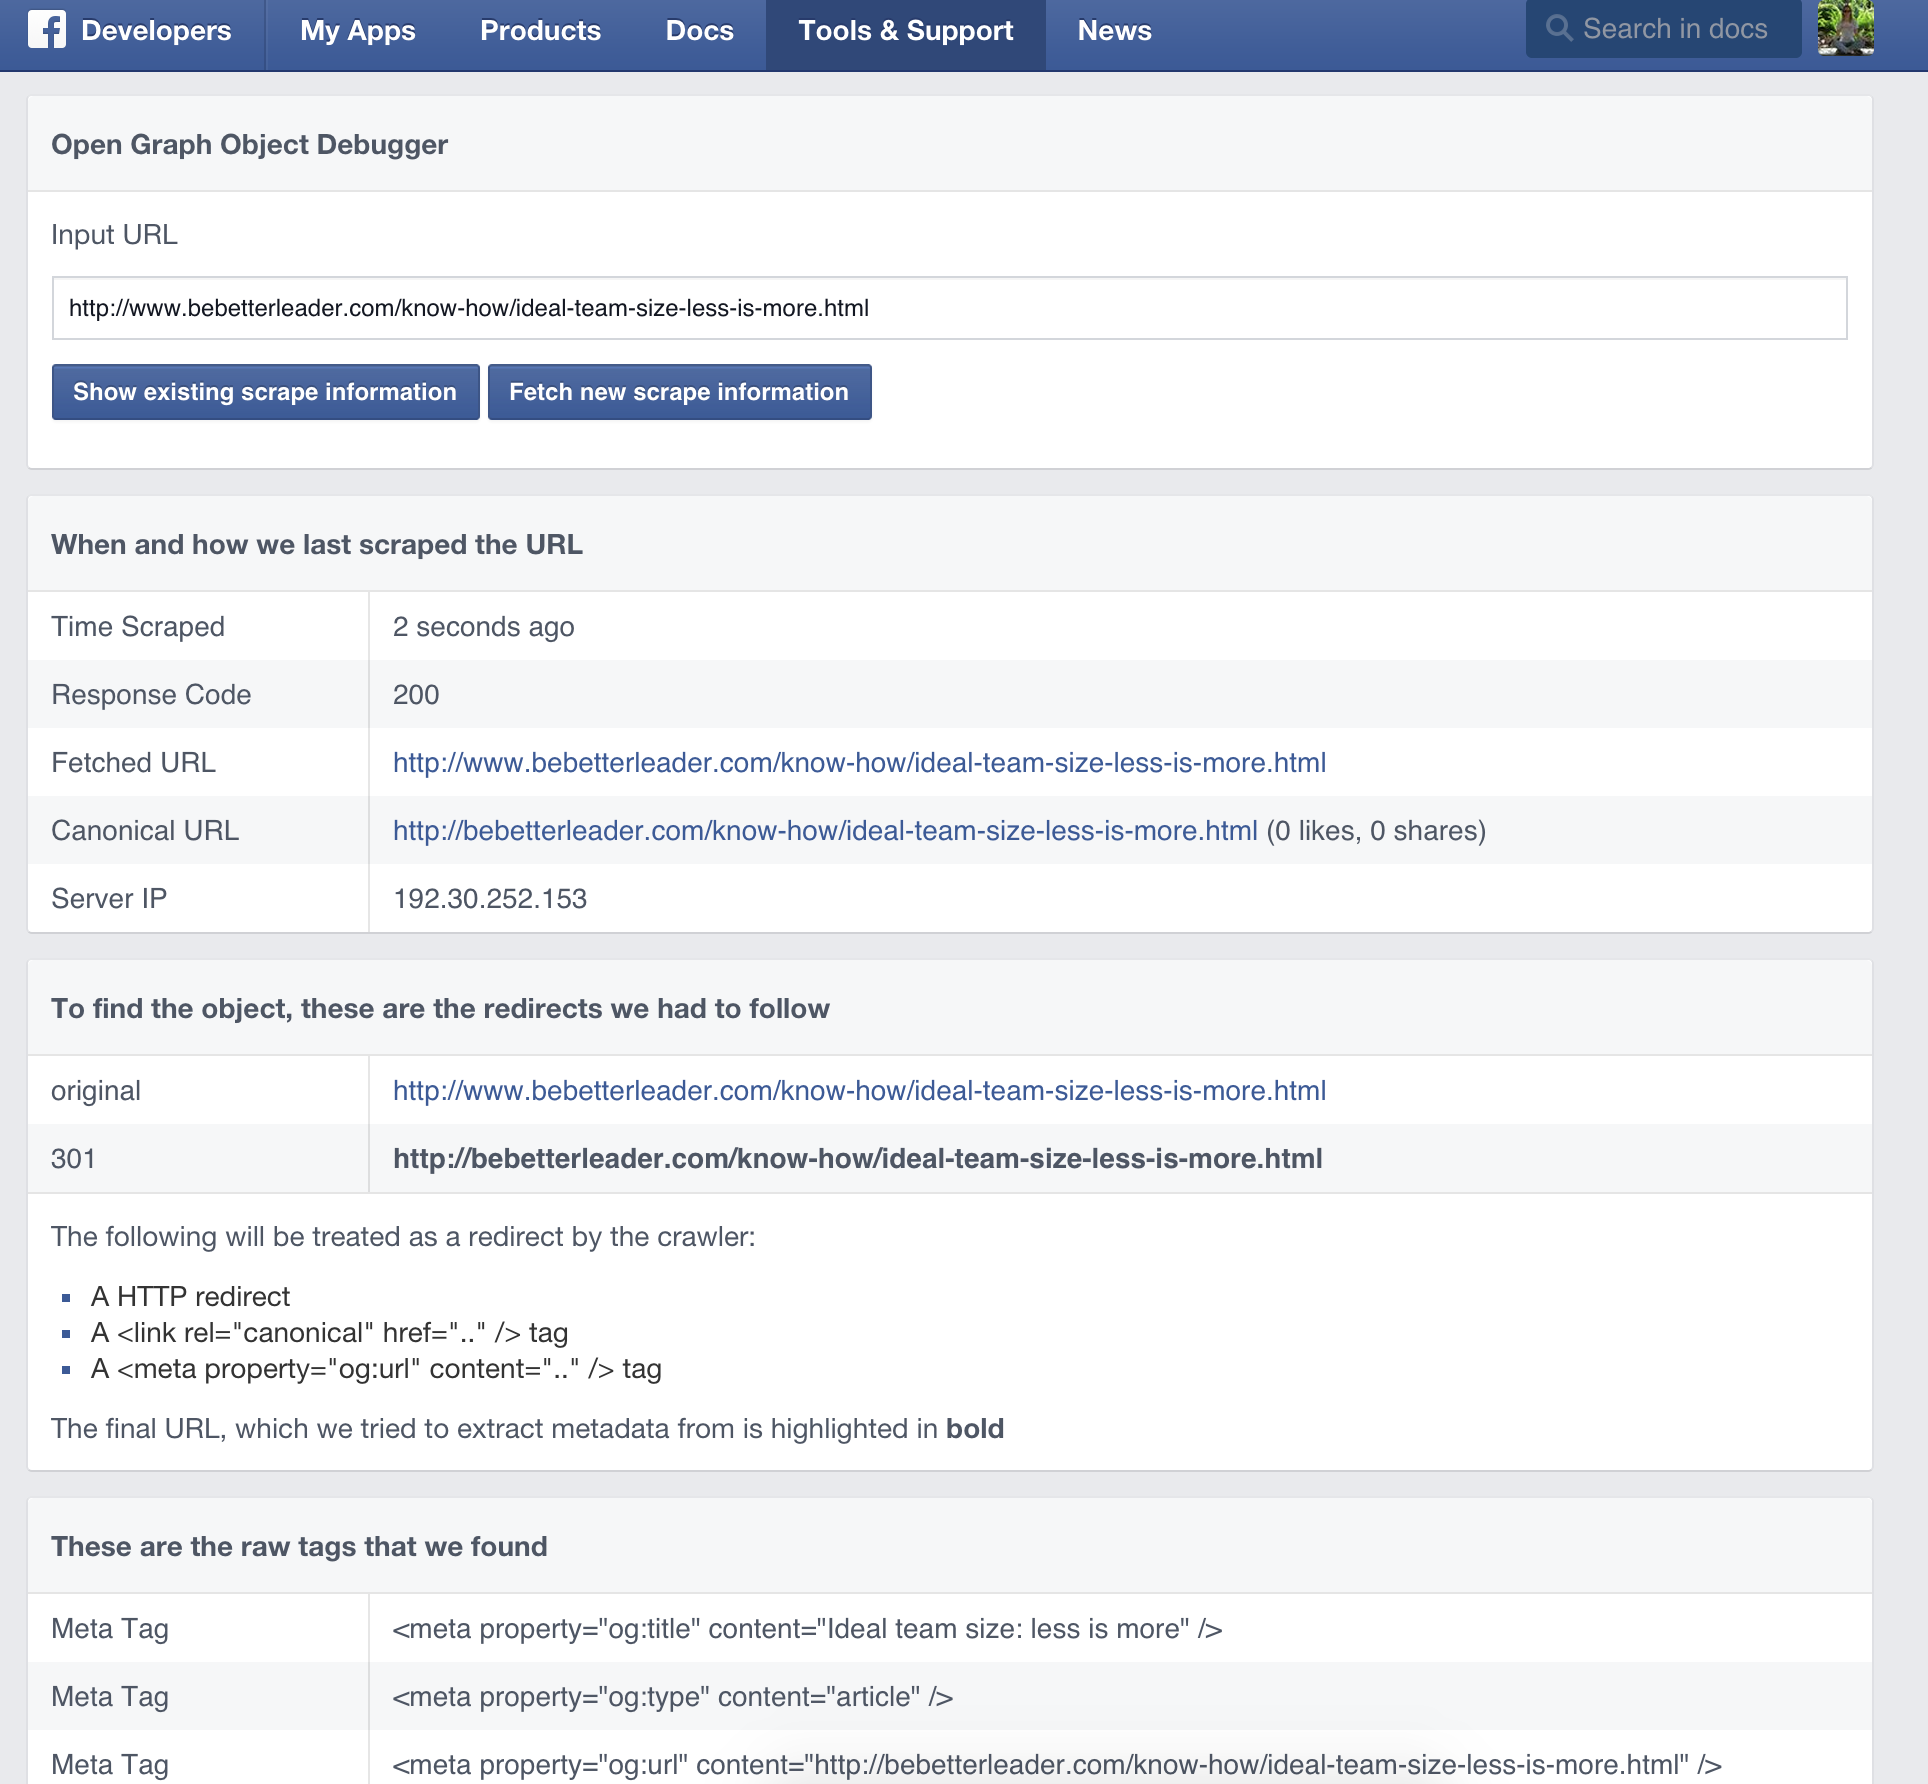
With this workaround I can share my posts using nice summary and image in a share dialog.
Update 10/17/2015
By the way in my
gh-pagesbranch on a GitHub I haveCNAMEconfigured using subdomain + domain, like this:www.bebetterdeveloper.com